The Resource Checkout feature conveniently allows you to track the activity of resources.
STEP 1: Select The Resource Checkout Feature
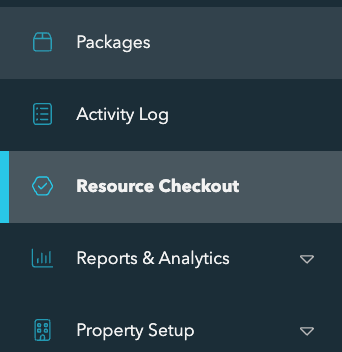
Navigate to the features panel along the left side of the screen and select “Resource Checkout.”
STEP 2: Create a + New Resource
Click the navy blue “+ New Resource” button in the top-right corner.
STEP 3: Complete the + New Resource
Complete the + New Resource by entering the name of the resource and click “Save.”

STEP 4: Resource Checkout Table
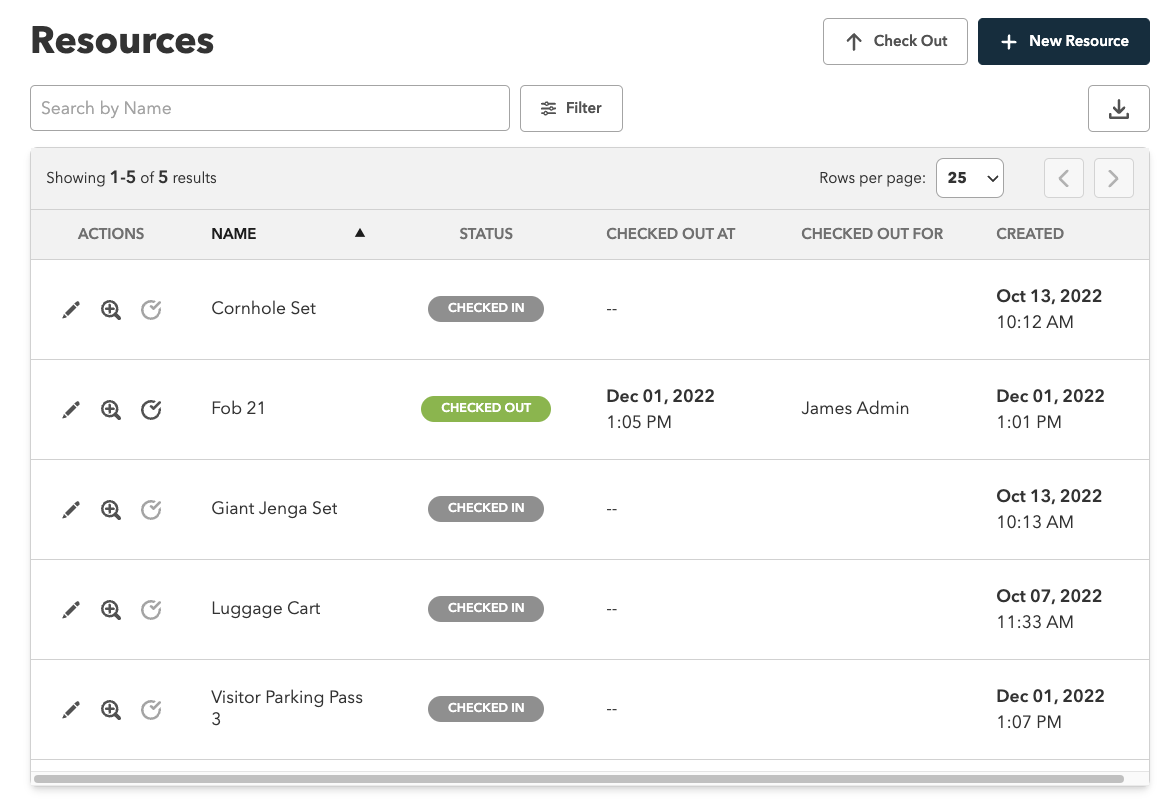
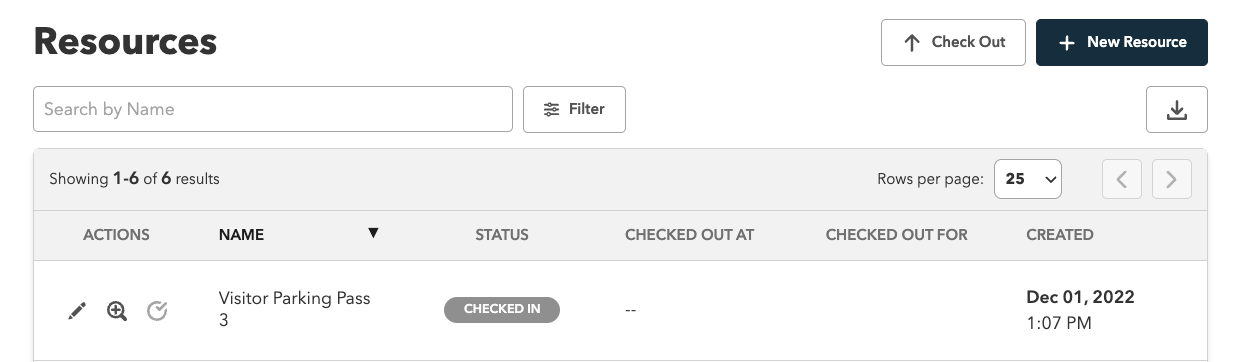
Observe the Resource Checkout Table below. From top to bottom you will see a list that sort by NAME in alphabetical order. You can toggle any of the columns to sort the resources by clicking on the header.
Under the Actions column you will notice the pencil, magnifying glass, and check-in icons. Once you create a resource, you will be able to edit it by selecting the pencil icon. You can also click the magnifying glass to view the Activity Log details, and finally check-in a resource by clicking on the check-in circle icon.
STEP 5: Check out
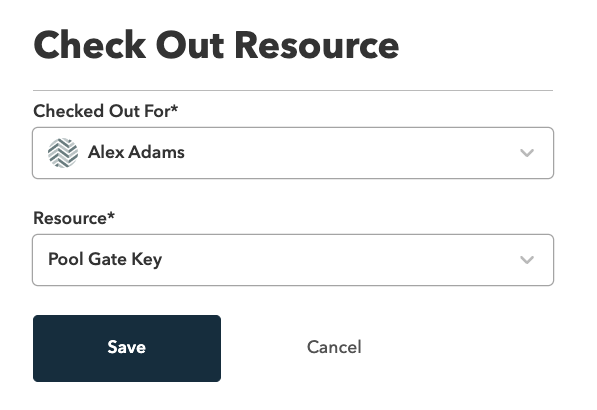
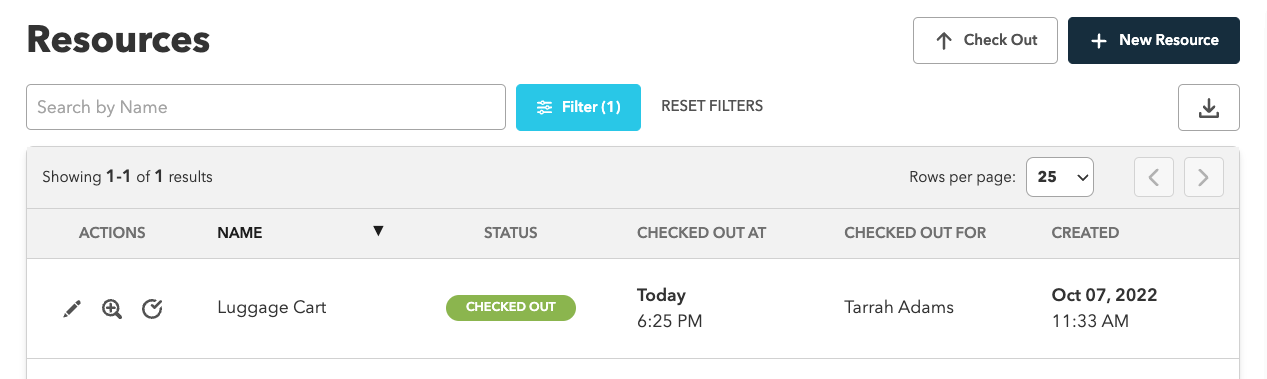
To Check out a resource, click on the white button in the top right corner that says “Check out” and then select the “Checked out for” and “Resource” from the drop downs. Finally, click “Save.”
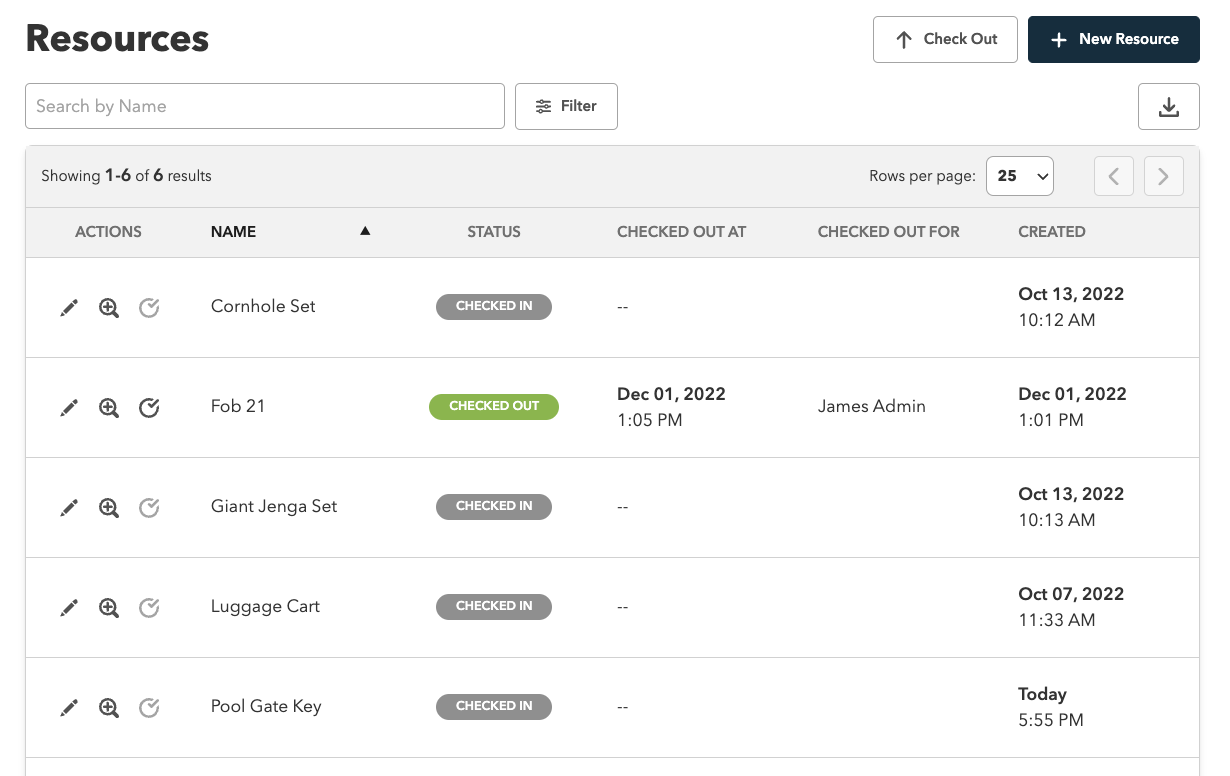
You will notice in the photo below, the Resource “Pool Gate Key’s” Status has changed to “Checked out” and logged the time, date, and who it was checked out for.

STEP 6: Check-in
To Check-in the Pool Gate Key, simply click on the boldly shaded circle with a check mark. Notice how it updates below to “Checked in.”

STEP 7: Search or Filter
In the middle top-left corner use the “Search or Filter” button under the “Activity Log” header for focused searches. You are able to filter by several fields as you will see below. As soon as you type in the information, you will notice the table to the left will change to reflect the information you’ve entered.
Either click the “X” above “Search or Filter or click anywhere to the left to return to the table.
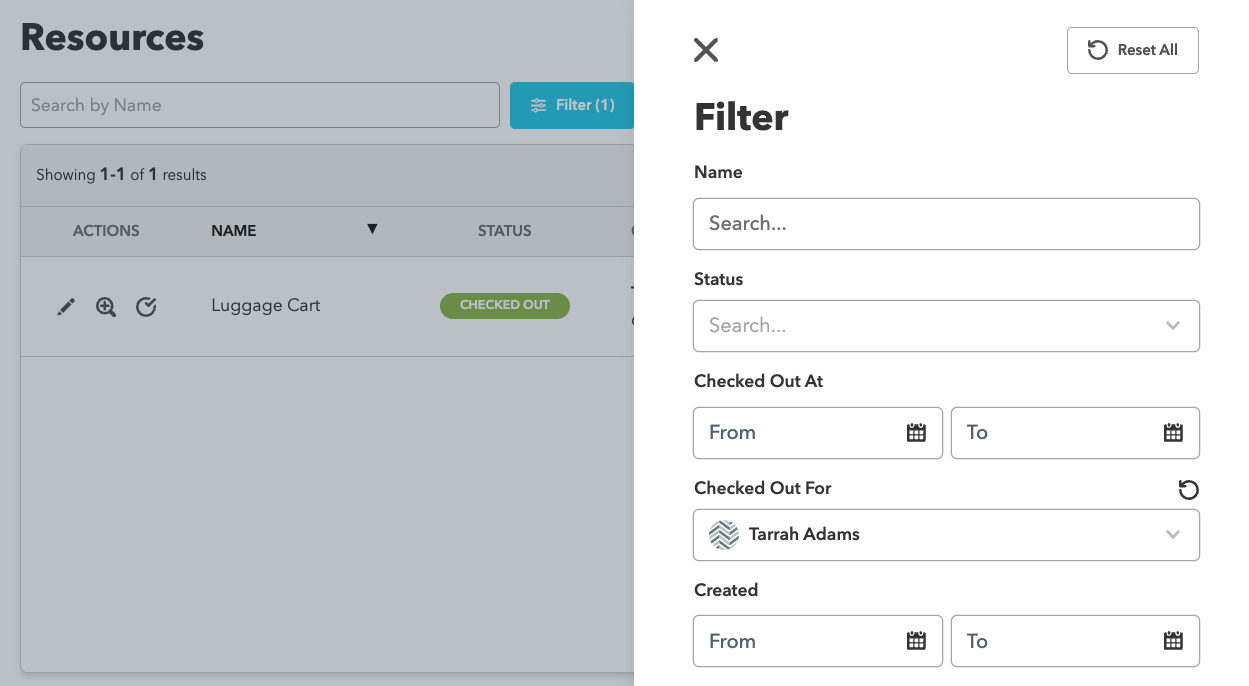
From here, examine your search results.
STEP 8: Download
If you need to download the check-in logs, you may do that by clicking the download button in the top right corner near the + New Resource button. And finally, to clear any search filters when you’re done, select the “Reset Filter” in the top left next to “Search or Filter.”